
How to Ear Tag Cattle and Sheep Correctly
Ear tagging cattle is one of the first jobs on any farm — and one of the easiest to get wrong. A tag placed through a vein bleeds and can be pulled out within weeks; a tag set too close to the skull pinches cartilage and causes pain; a tag applied with dirty equipment can introduce infection. Correct ear tag placement, clean tools and a calm restraint routine take only a few seconds per animal, and they decide whether an identification number stays readable for the animal's whole life. This guide covers cattle and sheep, from ear anatomy to the step-by-step routine and the aftercare most people skip.
Why Placement Decides Tag Retention
The ear is not a uniform piece of tissue. A bovine ear carries two large veins running parallel from the head to the tip, plus cartilage ridges in the middle of the ear. Every tagging mistake traces back to one of these structures:
- Through a vein → bleeding, swelling, and a tag that works loose.
- Through the cartilage ridges → infection risk and a deformed ear.
- Too close to the tip → the tag snags on fences and feeders and tears out.
- Too close to the head → thicker cartilage, a poor fit, and a pinched, painful ear.
Where to Place the Tag
Industry guidance is consistent: insert the tag in the middle one-third of the ear, in the center, avoiding both the veins and the cartilage ridges. Electronic (EID) tags are typically set slightly deeper — about two-thirds of the way in from the ear's edge toward the skull — because the electronic component needs a stable position to stay readable.
For sheep and lambs, the same logic applies with a lighter tag: the ear is thinner and the animal is smaller, so small, well-fitted tags placed in the middle of the ear retain better than oversized tags forced into the cartilage.
Step-by-Step Tagging Routine
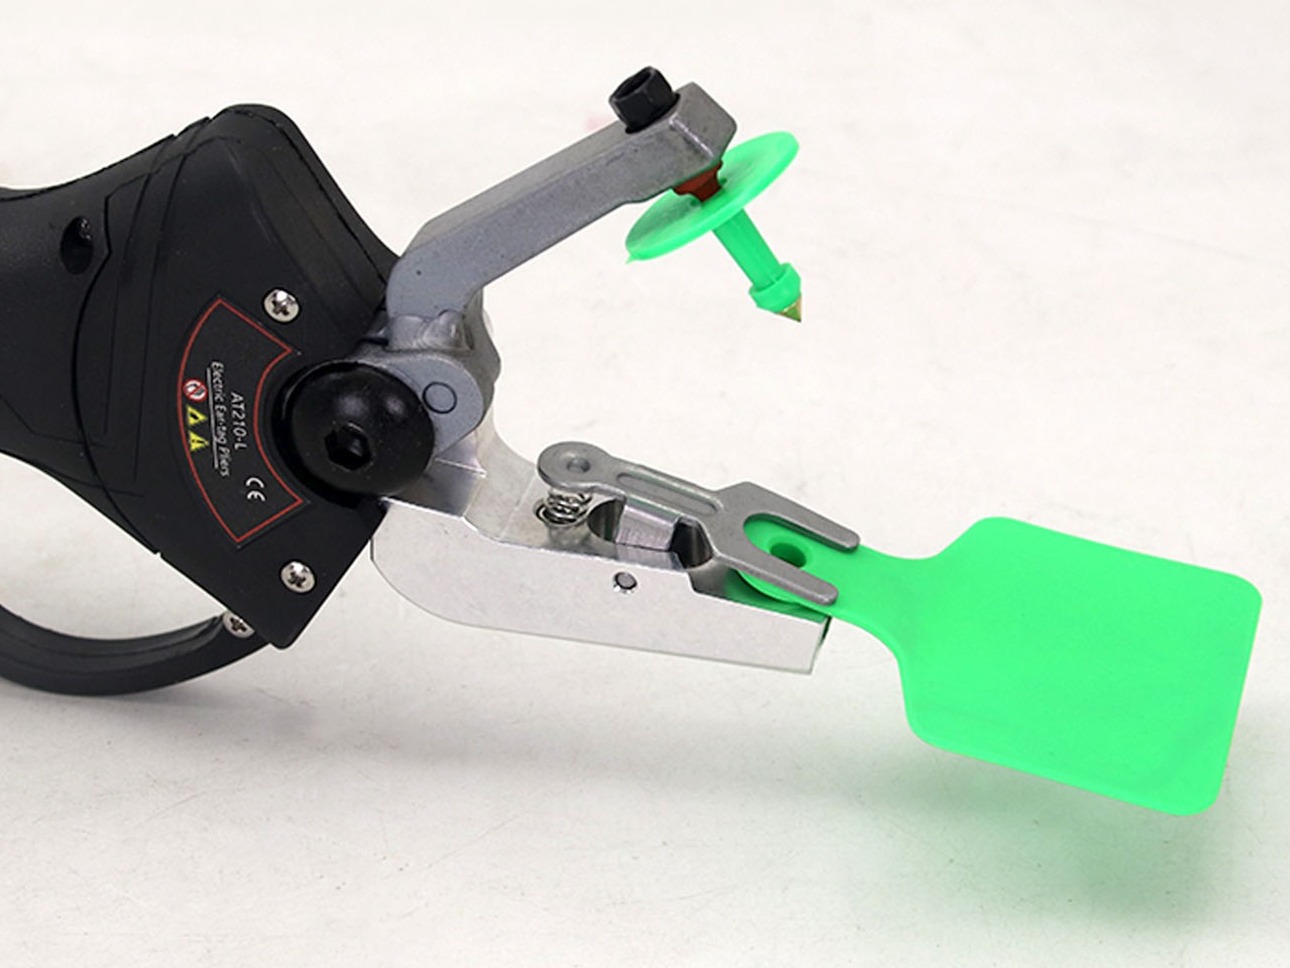
1. Prepare the tools. Have enough tags and applicators for the number of animals. Keep a spare applicator on hand, and retire rusty, stiff or noisy ones — they are hard to squeeze and the noise startles the animal.
2. Set up biosecurity. Clean the ear area, wash your hands, wear gloves, and wipe the applicator pin with alcohol or another disinfectant between animals. Shared, unhygienic equipment spreads bacteria and viruses such as bovine papillomavirus and bovine leucosis from animal to animal.
3. Restrain the animal properly. Calves: separate them from the cow so the mother cannot interfere, and hold the head gently — positioning it between your legs, facing the same direction as the calf, gives you a stable, calm hold. Older cattle: use a chute, and combine tagging with vaccination or other processing.
4. Load the tag correctly. Follow the manufacturer's instructions for the tag, pin and button. Applying a tag backwards is one of the most common mistakes — check the assembly before you catch the animal.
5. Place and release. Support the ear, keep the ear clean and free of debris or hair, align the applicator with the middle one-third of the ear, and close it in a single firm squeeze.
6. Check the result. Rotate the tag to confirm it moves freely in the ear. A tag that cannot turn will rub and cause irritation. Then repeat on the other ear if your identification system requires it.
Choosing the Right Applicator
Applicator choice affects both animal stress and tag retention:
| Applicator type | Best for | Notes |
|---|---|---|
| Ergonomic metal pliers | Daily tagging, mixed herds | Even pressure, comfortable grip, less hand fatigue |
| Automatic-lock applicator | One-handed operation in a chute | Locks the tag in place before release, fewer mis-loads |
| Standard spring applicator | Occasional small-batch tagging | Lower cost, requires consistent hand force |
A blunt or misaligned pin tears the ear instead of punching cleanly — replace worn pins, not just the tags.
Sheep, Lambs and Ear Notching
Sheep tagging follows the same middle-of-the-ear rule with smaller tags and lighter applicators. Because sheep ears are thin, an oversized tag is easily snagged in wool and fencing, and a tag placed too close to the head can tear out.
Some sheep and pig operations also use ear notching for permanent identification that never falls out. Notching is done once, in the first days of life, using a clean stainless-steel notcher, and the notch pattern is recorded against the animal's record. As with tagging, keeping the tool clean and disinfected between animals is what prevents infection.
Aftercare: The Step Most Farms Skip
Once the tag is in, watch the animal for several days:
- Check for swelling, discharge or drooping of the ear — early signs of infection.
- If infection appears, remove the tag and consult your veterinarian before re-tagging; reapply only after the infection has cleared.
- Record the tag number immediately, while the animal is still restrained. Losing the link between animal and number defeats the purpose of tagging.
| Common mistake | Consequence | Fix |
|---|---|---|
| Tag loaded backwards | Poor retention, ear damage | Check assembly before catching |
| Through a vein | Bleeding, tag loss | Aim for the center, middle one-third |
| Too close to the tip | Snags and tears out | Move toward the middle of the ear |
| Dirty applicator | Infection, disease spread | Disinfect between animals |
| Tag that cannot rotate | Rubbing and irritation | Rotate the tag after application |
The Professional View
Buyers often compare applicators on price alone, then replace them twice a season. The three things that actually determine tagging success are consistent: a clean pin, an applicator that locks the tag squarely, and a tag placed in the middle one-third of the ear. A cheap applicator that misloads tags costs more in lost tags and re-tagging labour than a good one costs to buy — and on sheep, matching tag size to ear size matters more than any other single decision. Buy the tool that fits your animal class, keep spare pins and tags in stock, and build disinfection into the routine rather than treating it as an extra step.
Placement and biosecurity guidance in this article follows Merck Animal Health's producer guidance — see Brush up on ear tagging techniques. Always follow the tag manufacturer's instructions and local animal identification regulations.


